Categories : ASP.NET Core
Author : Golda G Date : Aug 1, 2022
This blog is going to explain how to pass values from parent component to child component. A cascading parameter and component is an easy way to flow data from parent to child components.
I have created two components to illustrate the data flow Parent.razor and Child.razor. The following is a parent component. I’ve added a textbox to collect the result and send it to the child component. Next, the <CascadingValue> component is added.
It passes the cascading value to all child components.
In this example, I’ve added a <Child> component inside a <CascadingValue> component . The result value is assigned to the value attribute of the <CascadingValue> element.
To explain that I have created two components.
Parent.razor and Child.razor. The following one is a Parent component.
Here I have added a textbox to collect a result to pass to the child component.
Next, <CascadingValue> component is added.
This passes the cascading value to all the child components.
In this example I have added <child> component inside the <CascadingValue> component. The result variable is assigned to the Value attribute of the <CascadingValue> component.
Parent.razor
@page "/Parent"

<h3>Parent</h3>

Result: <input type="text" @bind="@result" />
<br />
<br />
<CascadingValue Value="@result">
    <Child></Child>
</CascadingValue>

@code {
    int result = 10;
}
The next code snippet is the child component code.
A receivedResult property variable is added here to get the value from the parent component.
Added [CascadingParameter] attribute on top of receivedResult variable.
So the receivedResult will get the nearest parent <CascadingValue> value.
Child.razor
@page "/Child"

<h4>Child Component</h4>
<p>Result: <b>@receivedResult</b></p>

@code {
    [CascadingParameter]
    int receivedResult { get; set; }
}
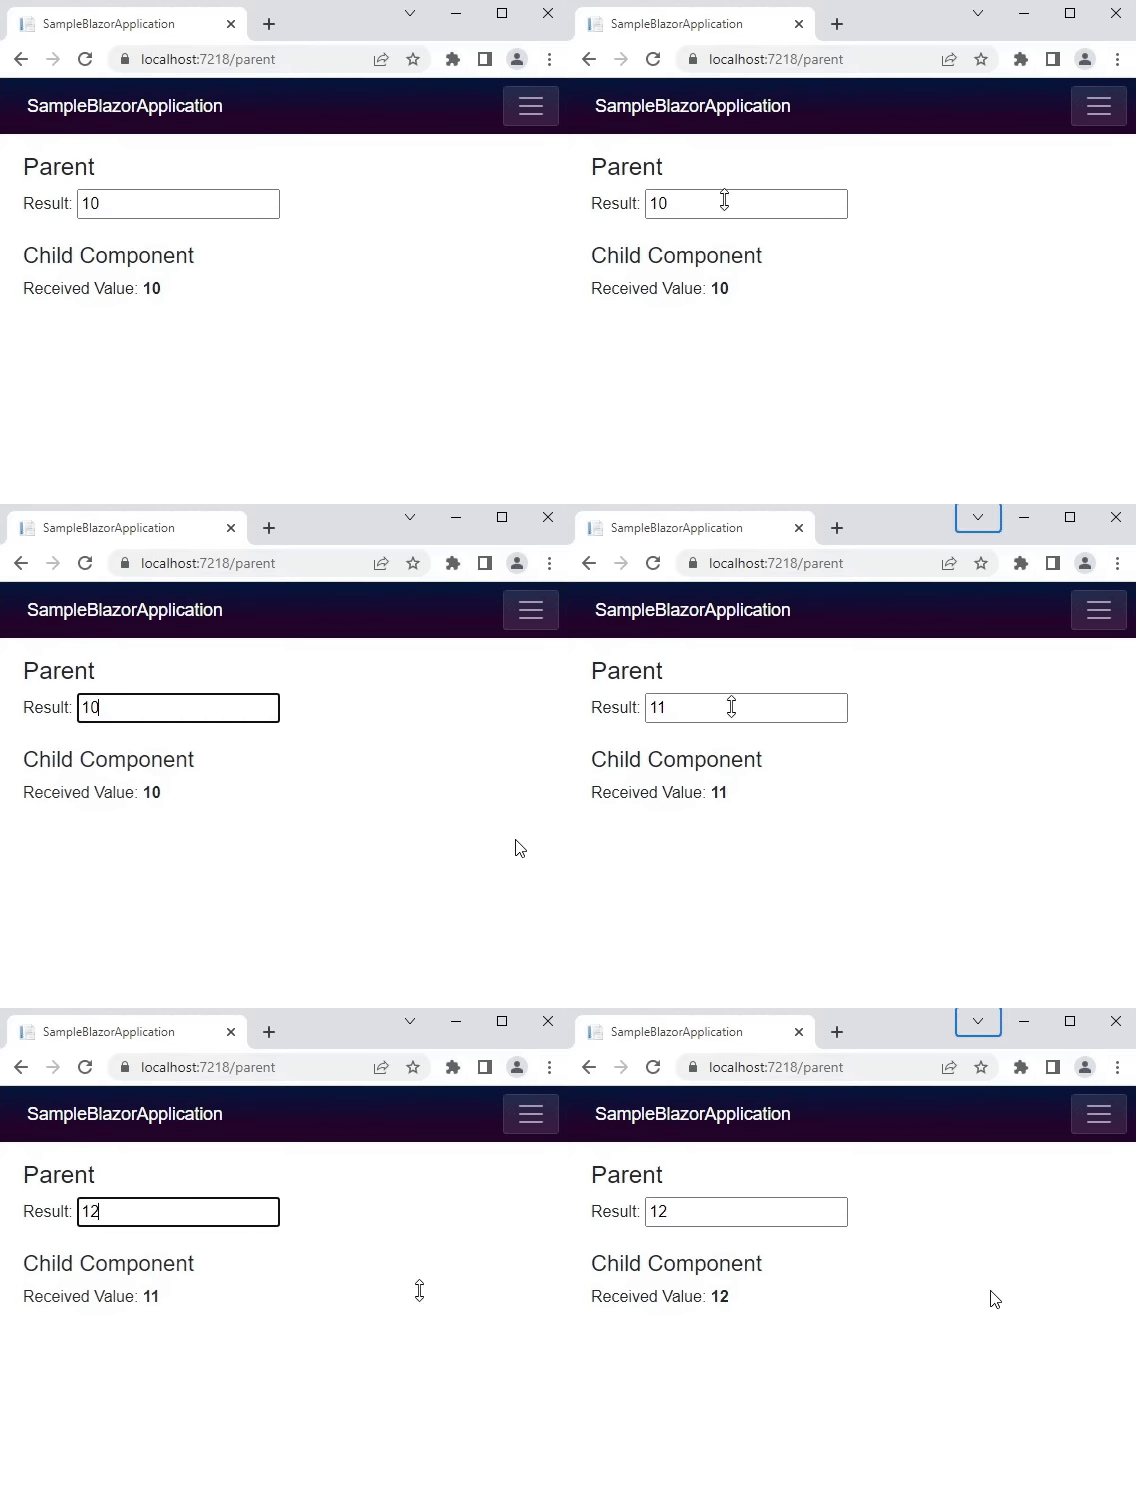
The following is a output of the above code samples

Next, you’re going to see how to cascade multiple values from the parent component to the child component.
In the parent component code below two text boxes have been added to collect the student name and age.
Name is String and Age is Numeric.
In the code below the child component is enclosed within two <CascadingValue> elements. One is to pass the student name and the other is to pass student age.
parent.razor
@page "/Parent"

<h3>Parent Component</h3>

Student Name: <input type="text" @bind="@stuName" />
 <br />
Age: <input type="text" @bind="@stuAge" />

<br /><br />

<CascadingValue Value="@stuName">
    <CascadingValue Value="@stuAge">
        <Child></Child>
    </CascadingValue>
</CascadingValue>

@code {
     string stuName = "Ed";
     int stuAge = 10;
}
The code below is the Child.razor code. Two property variables name and age are included with the [CascadingParameter] property. And the variables are displayed to show in the application.
Child.razor

@page "/Child"

<h4>Child Component</h4>

<p>Student Name: <b>@Name</b></p>
<p>Student Age: <b>@Age</b></p>

@code {
    [CascadingParameter]
    string Name { get; set; }

    [CascadingParameter]
    int Age { get; set; }
}
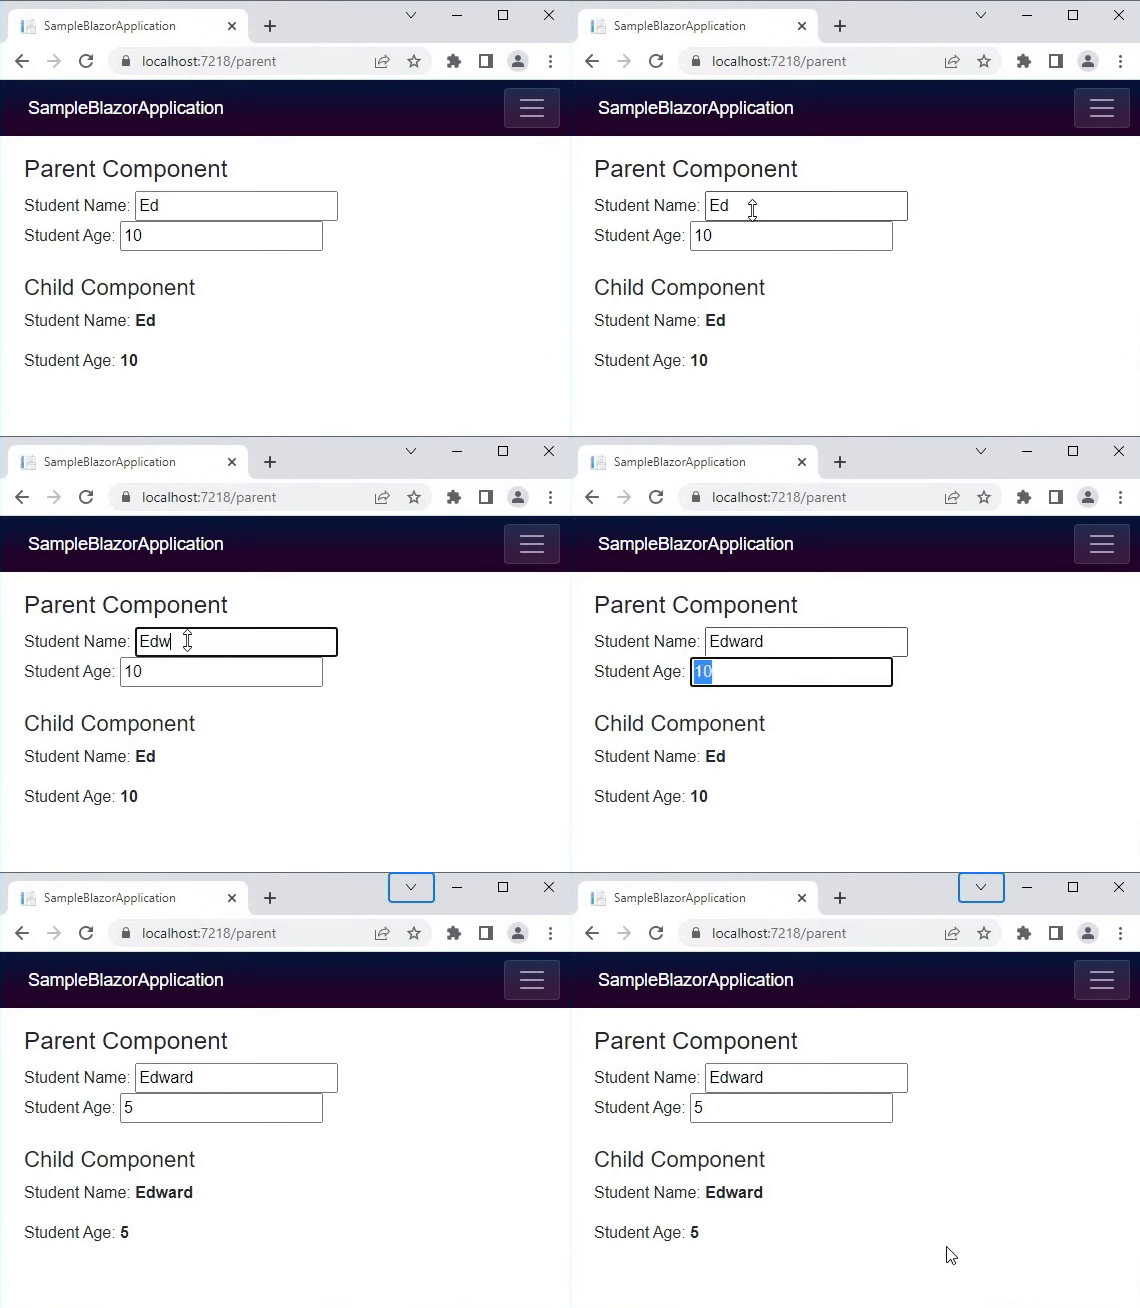
The below one is the output of above code.

In the previous example, the cascading values are different data types, one is string and the other numeric. But when you cascade the same data type, you need to set the name attribute in the <CascaddingValue> component. In the example below, the student name and favourite subject are assigned to the <CascadingValue> component. Here you can see that the name attribute is added to both the <CascaddingValue>
@page "/Parent"

<h3>Parent Component</h3>

Student Name: <input type="text" @bind="@studentName" />
<br />
Favourite Subject: <input type="text" @bind="@subject" />

<br />
<br />

<CascadingValue Value="@studentName" Name="name">
    <CascadingValue Value="@subject" Name="sub">
        <Child></Child>
    </CascadingValue>
</CascadingValue>

@code {
    string studentName = "Ed";
    string subject = "Maths";
}
The below one is the child component. Here you see the Name is added in [CascadingParameter]. So based on this Name the cascading values will get bound.
@page "/Child"

<h4>Child Component</h4>

<p>Student Name: <b>@Name</b></p>
<p>Favourite Subject: <b>@Subject</b></p>

@code {
    [CascadingParameter (Name = "name")]
    string Name { get; set; }

    [CascadingParameter (Name = "sub")]
    string Subject { get; set; }
}
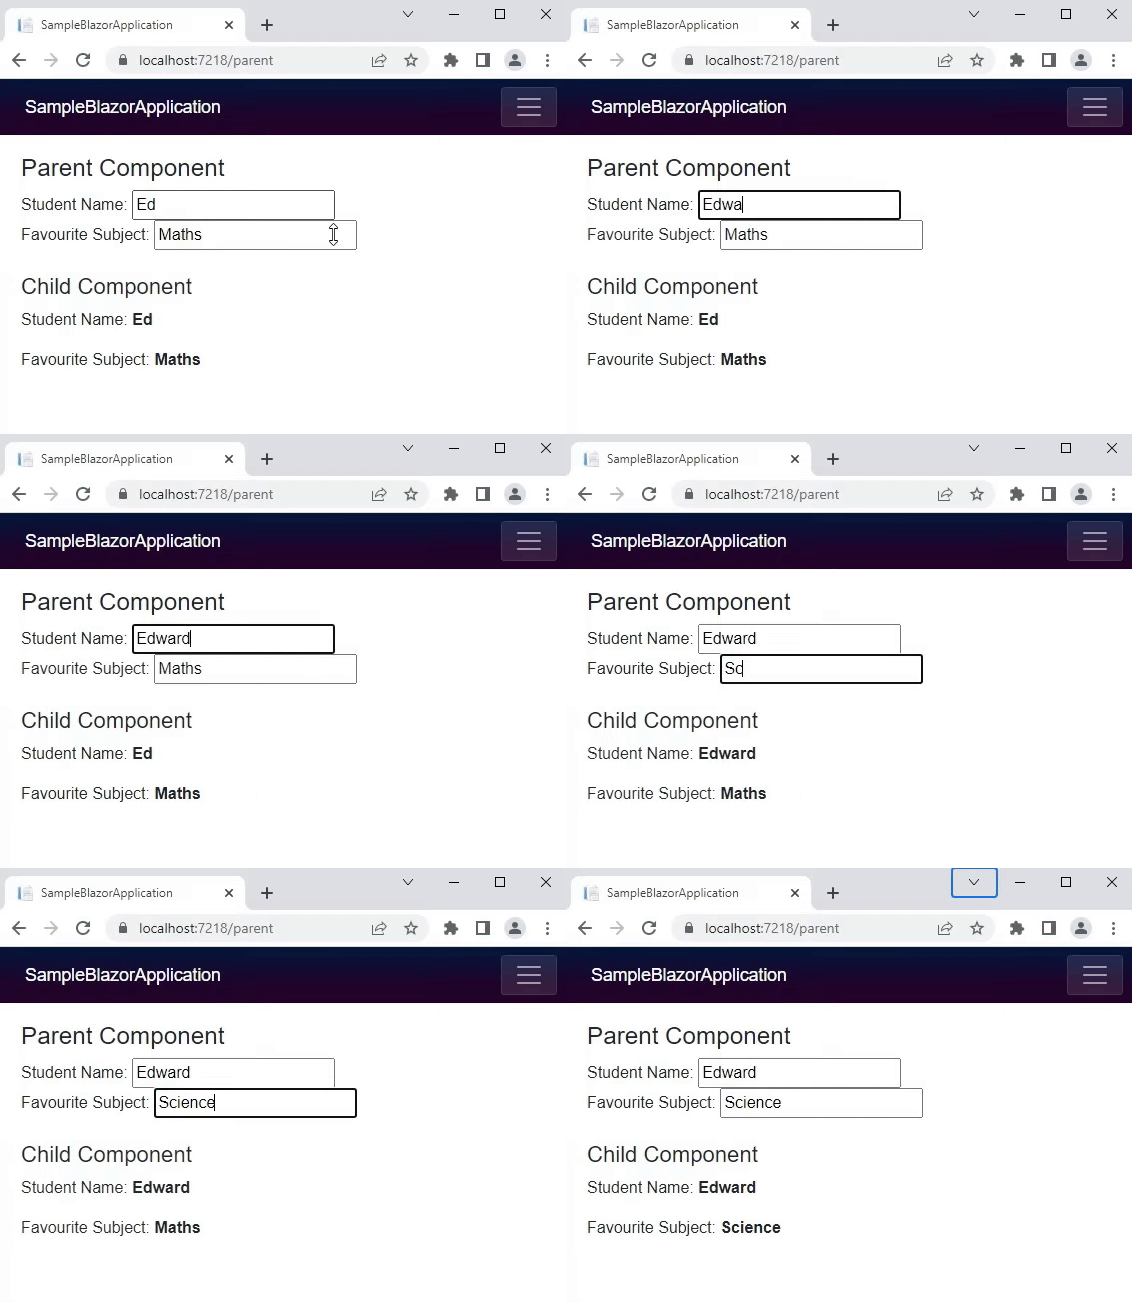
The following is an output of the above code.

This is how the Cascading Values and Parameters provide an easy way to send data down a component hierarchy from a parent component to any number of child components
