
Categories : Mobile App Development
Author : Date : Dec 20, 2021
This article explains how to do a phone number authentication in Android mobile app.
First sign into the below Firebase link using Google credentials.
https://console.firebase.google.com/
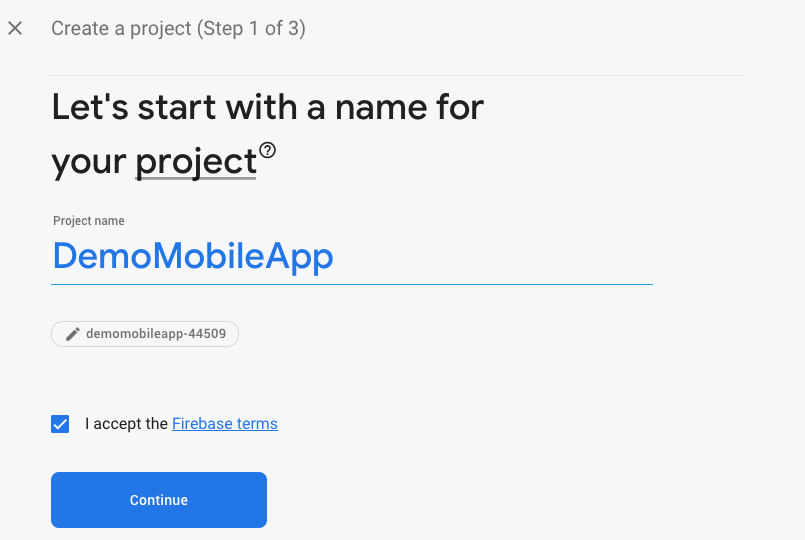
We can create new projects using ‘Create a Project’.
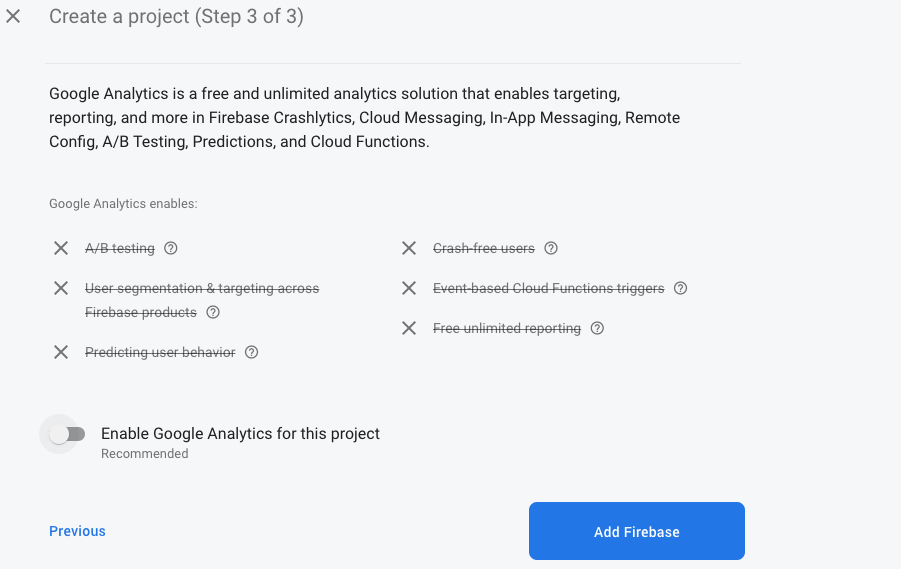
Disable the Google analytics toggle bar as we are not using Google Analytics and proceed to Add Firebase
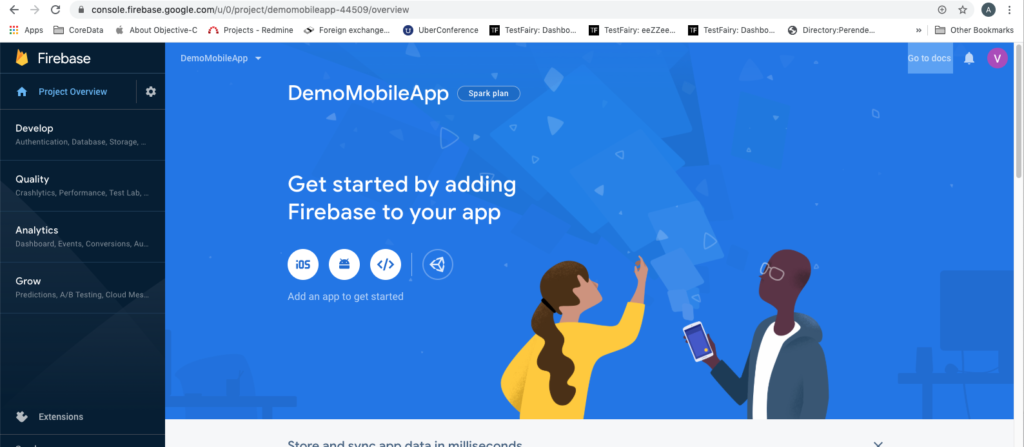
The created project gets displayed in the console. After selecting the project screen, the below screen is displayed.
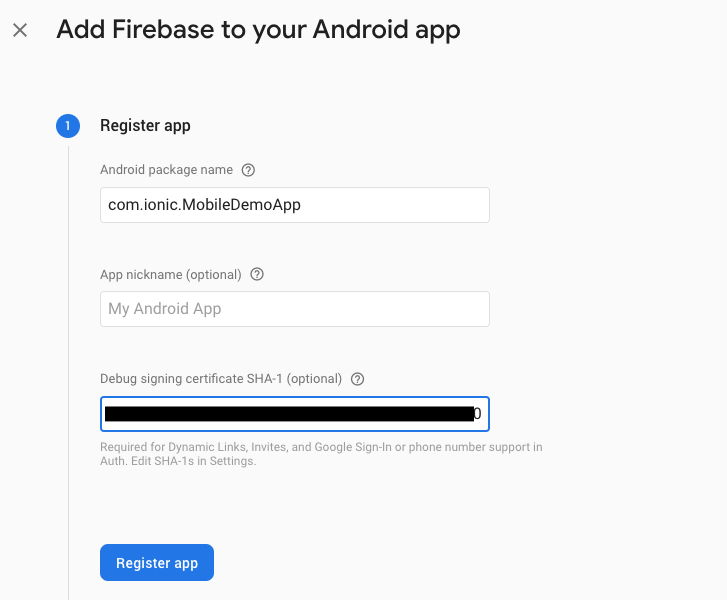
Here we are going to add an Android App by selecting the android icon.
We should add an Android package name, because this is a mandatory one. SHA1 also can add for phone number authentication.
In the Mac system use the below command in terminal to get SHA1 key
keytool -list -v -keystore ~/.android/debug.keystore -alias androiddebugkey -storepass android -keypass android

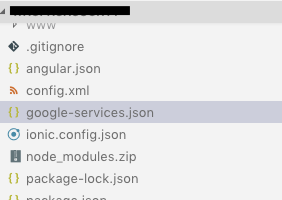
Download google-service.json file and add to the project folder.
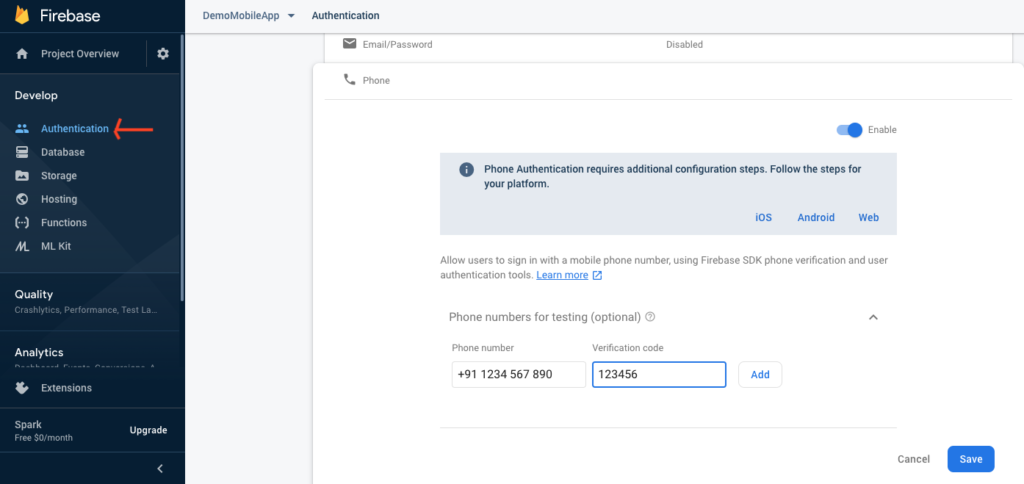
Next we can go to the Authentication section under project in Firebase console. Firebase has multiple authentication methods, we can enable the phone option and save it.
Firebase provides an option for Phone numbers for testing. We can enter a random number and provide a static password for it. In this scenario Firebase won’t send OTP every time, but will send the Verification code after that we can use the static OTP, which we already provided in Firebase.
Here we needed to create a web app for Firebase config, and to this config add as a parameter in firebase initializeApp method.
<script>
// Your web app’s Firebase configuration
var firebaseConfig = {
apiKey: “AIzaS**********************”,
authDomain: “***-********.firebaseapp.com”,
databaseURL: “https://***********.firebaseio.com”,
projectId: “****************”,
storageBucket: “****************.com”,
messagingSenderId: “****************”,
appId: “1:****************:9****************f09”
};
// Initialize Firebase
firebase.initializeApp(firebaseConfig);
</script>